Yeast Bread Troubleshooting: Why Your Loaf Failed & Fixes
What’s inside (skip to what you need)
I’ve baked more sad, flat loaves than I care to admit. The first time I tried a sourdough boule, it came out looking like a hockey puck. That’s when I started keeping a notebook of every failure — and every fix. This yeast bread troubleshooting guide is that notebook distilled. Whether your dough is sitting there like a lump or your crumb is dense enough to break a window, you’ll find the reason below. No fluff. Just the stuff that actually matters.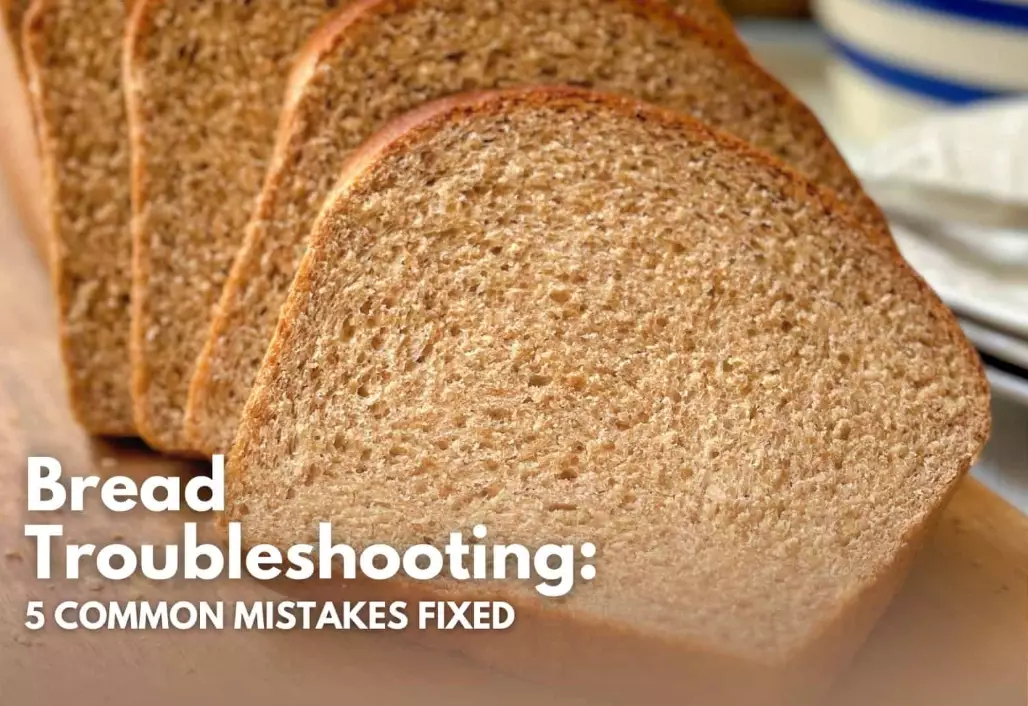
Dead Yeast: The First Thing to Check
Before you blame the flour or your kneading technique, prove your yeast is alive. This takes five minutes.
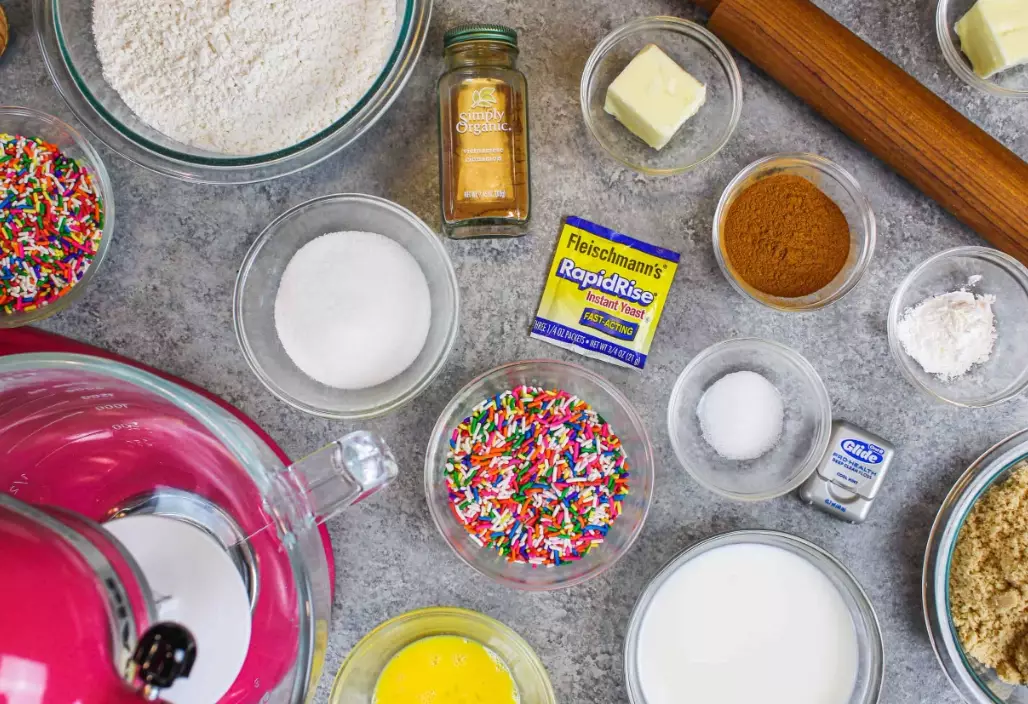
Take a half cup of warm water (105–115°F, not hot enough to burn your finger), stir in a teaspoon of sugar, then sprinkle a packet of yeast (7g) on top. Wait ten minutes. If you see a thick foamy cap that smells like bread, the yeast is fine. If it’s just flat brown water, your yeast is dead. Toss it.
I once bought a bulk bag of yeast from a discount store and didn’t test it. Three loaves later I figured it out. Now I always keep a backup packet in the fridge. Active dry yeast and instant yeast both work, but instant yeast doesn’t need proofing — though I still proof it for troubleshooting. It’s a cheap insurance policy.
Water temperature matters more than you think
Water that feels comfortably hot to your hand can be 120°F or higher. That kills yeast. I keep an instant-read thermometer on the counter. It’s not overkill — it’s the difference between a rise and a brick.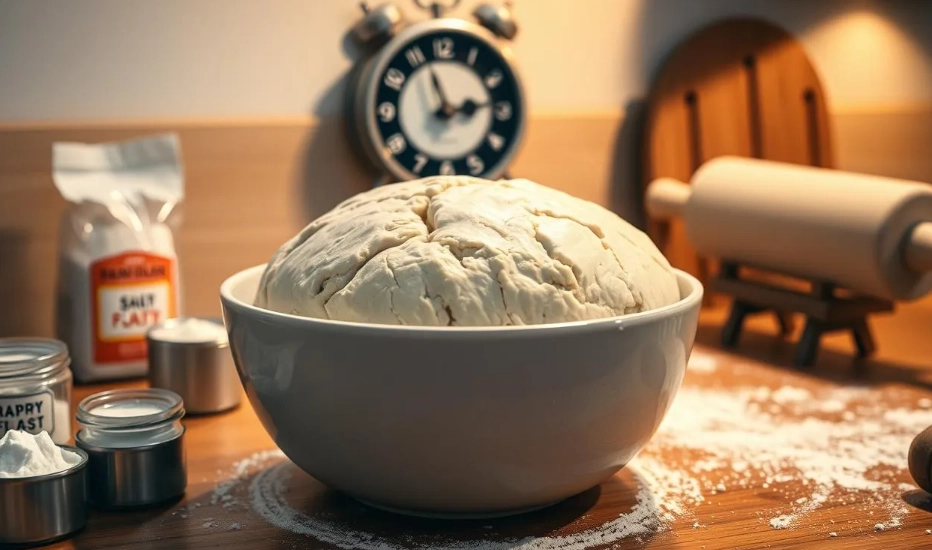
Dough Not Rising? The Usual Suspects
If your yeast passed the proof test but the dough still won’t rise, look at these three things:
- Kneading time: Under-kneaded dough lacks gluten strength, but over-kneading can also collapse structure. I mix by hand for 8–10 minutes. If the dough tears easily when I stretch a piece, it needs more work.
- Salt contact: Never dump salt directly onto yeast. Salt kills yeast on contact. I dissolve salt into the flour before adding the yeast mixture.
- Room temperature: Below 70°F, yeast slows to a crawl. In winter I put the bowl in the oven with the light on (oven off, door cracked). That keeps it around 78–80°F.
One more thing: dough that sits in a metal bowl in a cold kitchen can take double the time. I switched to a clear plastic bucket with volume markings. Watching the dough double is easier than guessing. Also, the bucket shows me exactly when it’s ready.
Dense, Gummy Crumb: What Went Wrong
You cut the loaf and the inside is a sticky, dense mess. Here’s a table that maps the most common causes to specific fixes.
| Problem Sign | Likely Cause | Fix for Next Time |
|---|---|---|
| Gummy, wet crumb with big holes | Underbaked or underfermented | Add 5–10 minutes bake time; let dough rise until it’s 1.5× its original size (not just doubled) |
| Dense, tight crumb with no holes | Too much flour or overproofed | Weigh flour (use 120g per cup, not scooping); watch dough carefully after the first rise |
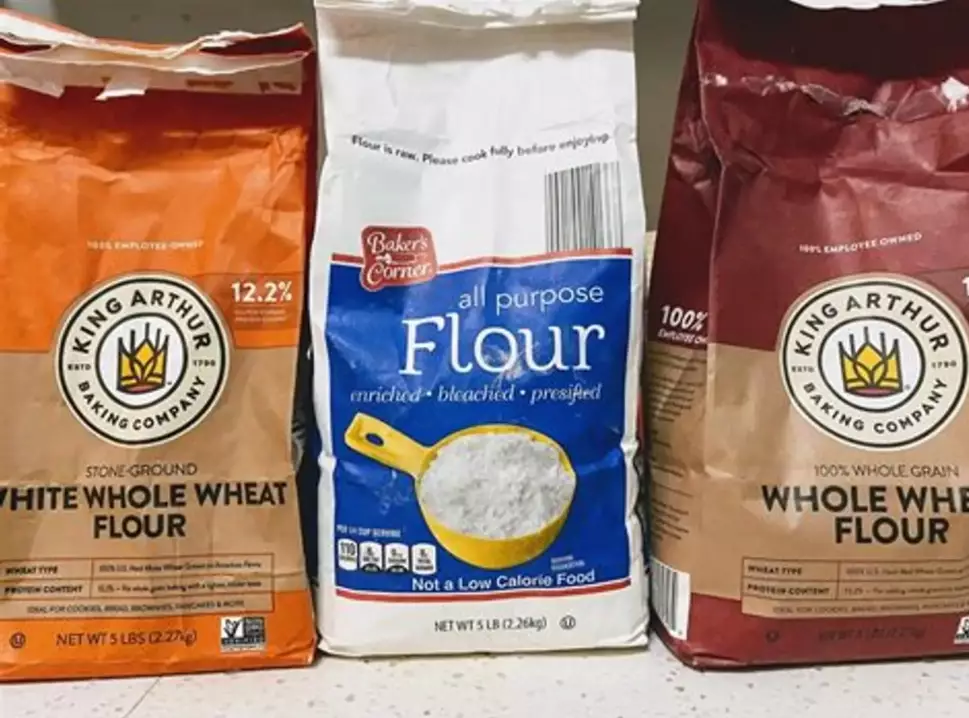
| Crumbly, falls apart | Not enough gluten development | Knead longer; use bread flour instead of all-purpose |
I’ve personally made every one of those mistakes. The gummy crumb one hit me hard last winter. I kept pulling loaves out early because the crust was golden. But a golden crust doesn’t mean the inside is done. Now I use a digital thermometer. Bread is done at 195–200°F internal temp. That little probe saved my reputation with my neighbors.
Overproofed vs. Underproofed: A Quick Visual Guide
This is the tip most home bakers miss: the poke test only works if you know what you’re looking for.
Flour your finger and poke the dough about half an inch deep. If it springs back immediately and fully, it’s underproofed — give it more time. If the indentation stays and doesn’t spring back, it’s overproofed. If it springs back slowly and partially, it’s just right.
Here’s the non-consensus bit: I ignore the clock. Recipes say “let rise for 1 hour.” But my kitchen runs cold. One hour means nothing. I trust the poke test every time. Also, sourdough and commercial yeast behave differently. Sourdough needs longer and warmer. Commercial yeast is faster. Adjust based on what you see, not what the timer says.
Another visual clue: look at the sides of the dough. Underproofed dough looks tight and smooth. Overproofed dough looks slack and has little bubbles on the surface that pop when you touch them.
Shaping and Baking Problems That Ruin a Loaf
Even perfect dough can fail if you shape it wrong or bake it off. Here are two fixes I learned the hard way.
Why does my bread spread instead of rising up?
If the dough spreads sideways in the oven, the gluten is weak or your shaping is loose. I always do a tight preshape (a quick round on the counter) and let it rest 15 minutes before final shaping. Then I build tension by dragging the dough toward me on the counter. That tight surface holds the rise upward. Also, bake in a preheated Dutch oven. The steam and heat make a huge difference. I tried baking on a sheet pan for years — big mistake. My loaves never got that oven spring until I switched.
Why is the bottom of my bread burnt?
Your oven rack is too low, or you’re using a dark pan. Dark pans absorb more heat. I use a light-colored aluminum baking sheet or a cast iron Dutch oven with parchment paper. And I always check the bread 5 minutes before the timer goes off. That early peek saved the bottom of many loaves.
Real Questions from My Kitchen
Baking bread is a lot like troubleshooting a car — you have to isolate the variable. Change one thing at a time. Keep a notebook. (I keep mine next to the flour bin.) The more you pay attention to the dough, not the timer, the fewer problems you’ll have. I won’t pretend every loaf I bake is perfect. But these fixes have taken me from hockey pucks to loaves that actually get eaten.
This article was fact-checked against the King Arthur Baking Company’s yeast guide and the USDA’s food safety guidelines.

Comments