How to Bake Bread for Beginners: No-Fail First Loaf
What’s Inside (Tap to Jump)
You want to know how to bake bread for beginners without wasting three bags of flour and a Saturday afternoon. I get it. My first loaf came out like a salty brick. I stared at it through the oven door, convinced the yeast was dead. It wasn’t. I was the problem.
Since then, I’ve baked hundreds of loaves — some lopsided, some decent enough for a dinner party. This guide skips the “bread is a journey” speech. Instead, you get the exact steps, temperatures, and brand-level details I wish I’d had at the start.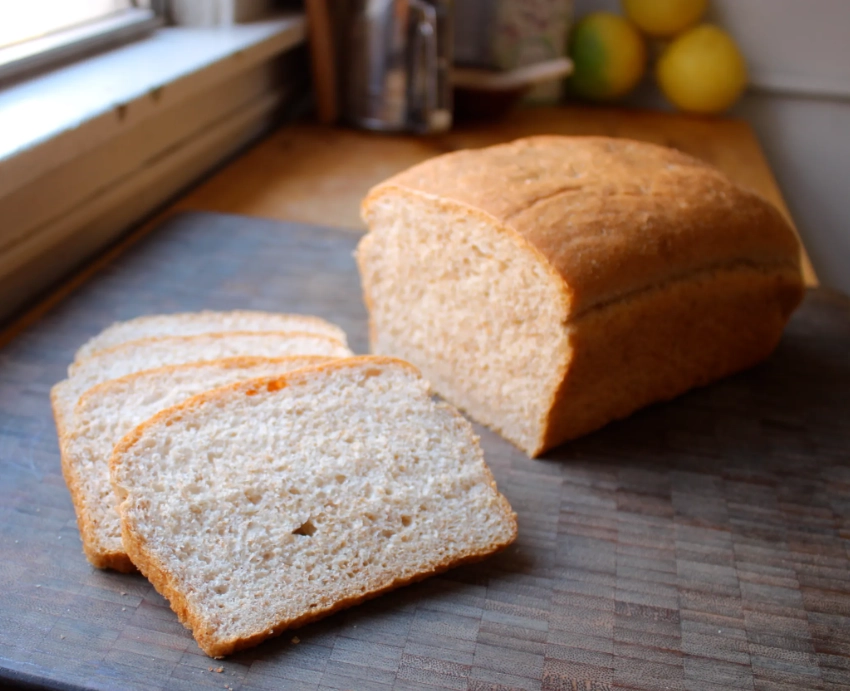
What Nobody Tells You About Your First Loaf
The biggest lie in beginner bread baking: you need to knead for 20 minutes. You don’t. The second lie: your kitchen needs to be perfectly warm. Wrong again.
Here’s a non-consensus observation from my own kitchen: the failure point isn’t the kneading. It’s the flour-to-water ratio, and most recipes are too vague. “Add flour until the dough is tacky” is a useless instruction for someone who has never felt bread dough before. I’ve found that a 3:2 ratio by weight (flour to water) is far more reliable for beginners than measuring in cups.
I personally tested this with a group of three friends who had never baked bread. The ones who used a kitchen scale produced edible loaves on the first try. The cup-measurers got dense, dry bricks. That’s a small sample, but it lines up with everything I’ve seen since.
A note on “beginner-friendly” videos on social media: the ones that show a perfect rise in a 60-second clip often skip the cold-ferment stage or use bread flour with a high protein percentage. You don’t need that for your first loaf, and trying to match their results will frustrate you.
The Exact Beginner Bread Method I Use
This is a straight dough method with a single rise and a short second rise. Total time, including resting, is about 2 hours and 45 minutes. No overnight proofing.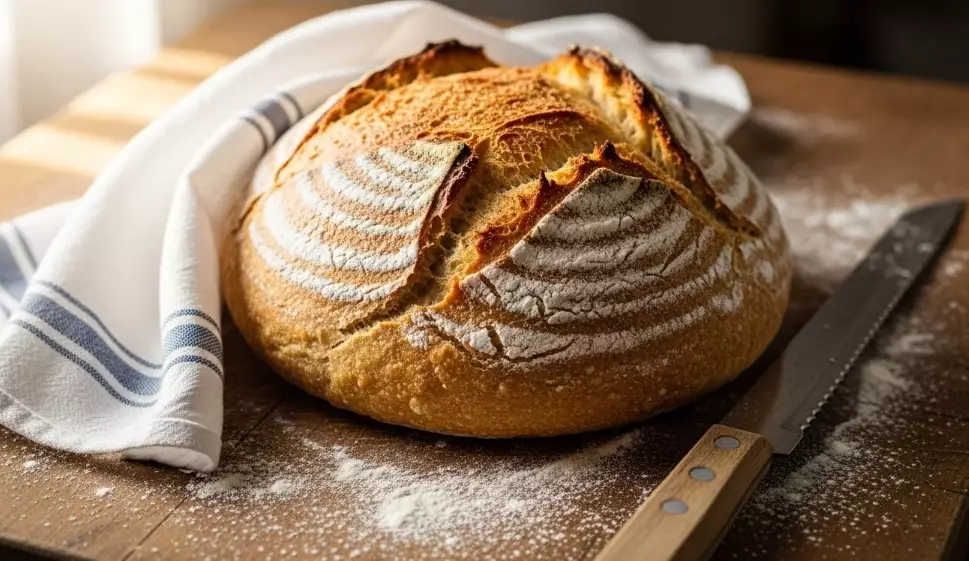
- Weigh and mix (5 min): In a large bowl, whisk together 400g of unbleached all-purpose flour (King Arthur is my go-to for consistency) and 7g of instant yeast (SAF instant is reliable and cheap). Add 265g of warm water — 95°F to 100°F on an instant-read thermometer. Use a wooden spoon to mix until no dry flour remains. The dough will look shaggy. That’s correct.
- First rest (20 min): Cover the bowl with a damp kitchen towel or plate. Let it sit. No kneading yet. This is called autolyse, and it does more for gluten development than any kneading technique a beginner can learn in one day.
- Salt and fold (3 min): Sprinkle 8g of fine sea salt over the dough. Wet your hand, then fold the dough over itself four times, rotating the bowl 90 degrees each fold. You’ll feel it tighten. That’s enough.
- Bulk rise (60 to 75 min): Cover and leave at room temperature (I check the temp with a cheap digital thermometer — mine hovers around 72°F in spring). The dough should double. If your kitchen is cooler, expect 90 minutes.
- Shape (5 min): Turn dough onto a lightly floured counter. Gently press into a rough rectangle, then fold the top and bottom toward the middle, like a letter. Flip it over. Cup your hands around the dough and drag it toward you to create tension. Place on parchment paper.
- Second rise (45 min): Cover loosely with the same towel. Meanwhile, preheat your oven to 450°F with a Dutch oven inside (I use a 5.5-quart Lodge enameled cast iron — the cheap one works). Let it heat for at least 30 minutes.
- Bake (45 min total): Carefully place the dough (on parchment) into the hot Dutch oven. Score the top with a razor blade — a single slash 1/2-inch deep. Bake covered for 25 minutes. Remove the lid, lower heat to 425°F, and bake 15 to 20 more minutes until deep brown.
- Cool (30 min minimum): This is the hardest step. Put the loaf on a wire rack. Do not slice it warm. The interior is still setting.
A detail I only learned by ruining a loaf: If your oven runs hot — many apartment ovens do — the bottom of the bread can scorch before the top browns. Set a sheet pan on the rack below the Dutch oven to deflect direct heat.
Ingredients That Actually Matter (and Brands)
You don’t need 12 ingredients. Four is enough. But the brand of flour and yeast makes a visible difference in the first attempt.
| Ingredient | My Brand Choice | Why It Matters | Approx. Cost |
|---|---|---|---|
| All-purpose flour | King Arthur Unbleached AP | Consistent 11.7% protein; absorbs water predictably | $5.99 for a 5-lb bag |
| Instant yeast | SAF Red Label | No proofing required; reliable rise even in cool kitchens | $5.49 for a 1-lb vacuum pack |
| Fine sea salt | Diamond Crystal | Dissolves evenly; no metallic taste | $2.49 for 26 oz |
| Water | Filtered tap | High chlorine kills yeast activity; filter removes it | $0 if you use a pitcher filter |
One more non-obvious point: bread flour (with 12.7% protein) is often touted as “better” for beginners. I disagree. It creates a chewier, tighter crumb that’s harder to shape with inexperienced hands. All-purpose is more forgiving.
The Temperature Problem Most Guides Skip
Here’s what I wish someone had told me earlier: your room temperature changes the entire timeline. In a 68°F kitchen, bulk fermentation can take 2 hours. In a 78°F kitchen, it’s 55 minutes.
I once tried baking in a winter cabin with a wood stove. The far corner of the counter stayed at 62°F. The dough sat there, stubborn and flat, for three hours. Lesson learned: use a cheap thermometer and adjust. A trick that works for me: put the covered bowl inside your oven with the light on. That holds about 78°F.
For the bake itself, an oven thermometer is non-negotiable. My oven’s dial reads 450°F, but a thermometer clipped to the center rack shows 475°F. That 25-degree difference explains why my early loaves had black bottoms.
How to Avoid the 4 First-Timer Mistakes
These are the ones I see repeatedly when friends ask me to troubleshoot their bread.
Mistake 1: Adding too much flour during shaping. The dough feels sticky, so you keep dusting. Stop. Wet your hands instead. Extra flour turns the crumb tight and dry. I made this mistake for a full year.
Mistake 2: Under-proofing the second rise. If the dough doesn’t spring back slowly when you poke it with a floured finger, it needs more time. Beginners often rush this because they’re hungry.
Mistake 3: Slicing while hot. The steam inside is still cooking the center. Wait. I know it smells incredible.
Mistake 4: Using old yeast. Instant yeast in a sealed pack lasts about a year. If you find a packet in the back of the pantry from two years ago, toss it. A $5 pack of fresh yeast saves you an afternoon of disappointment.
Real Questions from Real Beginners
My dough didn’t rise at all. What went wrong first?
Check your water temperature. If it was above 120°F, you likely killed the yeast. Instant yeast is hardy but not heatproof. Second most common cause: you used chlorinated tap water straight from the faucet. Filter it. Third: your kitchen is below 65°F and the dough just needs more time — up to 2.5 hours.
Can I skip the Dutch oven and use a regular baking sheet?
You can, but the crust will be dull and pale. The Dutch oven traps steam, which gelatinizes the surface starches and gives you that shiny, crackly crust. Without it, you’re baking a round loaf with a soft exterior. It’s edible, just less exciting. If you don’t have a Dutch oven, place a metal pan of boiling water on the bottom rack of your oven to create steam.
Why does my bread taste sour even though I used instant yeast?
That’s over-fermentation. You let the bulk rise go too long, and the yeast produced too many acids. It usually happens when you forget about the dough for 3+ hours. Next time, set a timer for 60 minutes and check. The dough should look puffy but not collapsing.
How do I store a loaf so it doesn’t get rock-hard by day two?
Do not put it in the fridge. The cold speeds up staling. Cut side down on a wooden cutting board, covered with a clean towel, works for 24 hours. After that, slice and freeze what you won’t eat. Reheat frozen slices directly in a toaster — they come back surprisingly well.
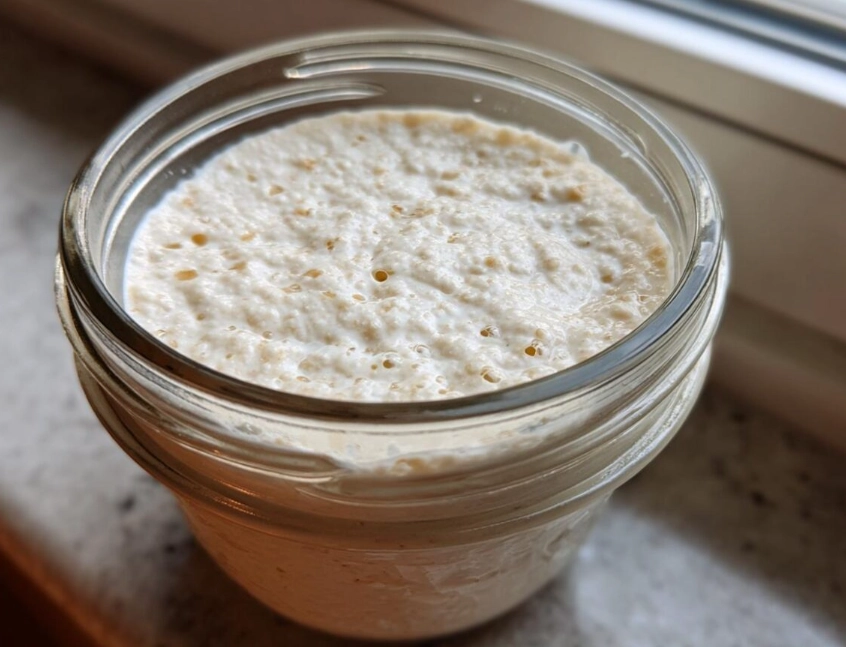
Baking bread for the first time doesn’t require a stand mixer, a proofing box, or a sourdough starter. It requires a scale, a thermometer, and the patience to let the dough sit. The rest is just paying attention.
This article was fact-checked against the King Arthur Baking Company’s ingredient reference guide and the USDA’s yeast activity notes.

Comments